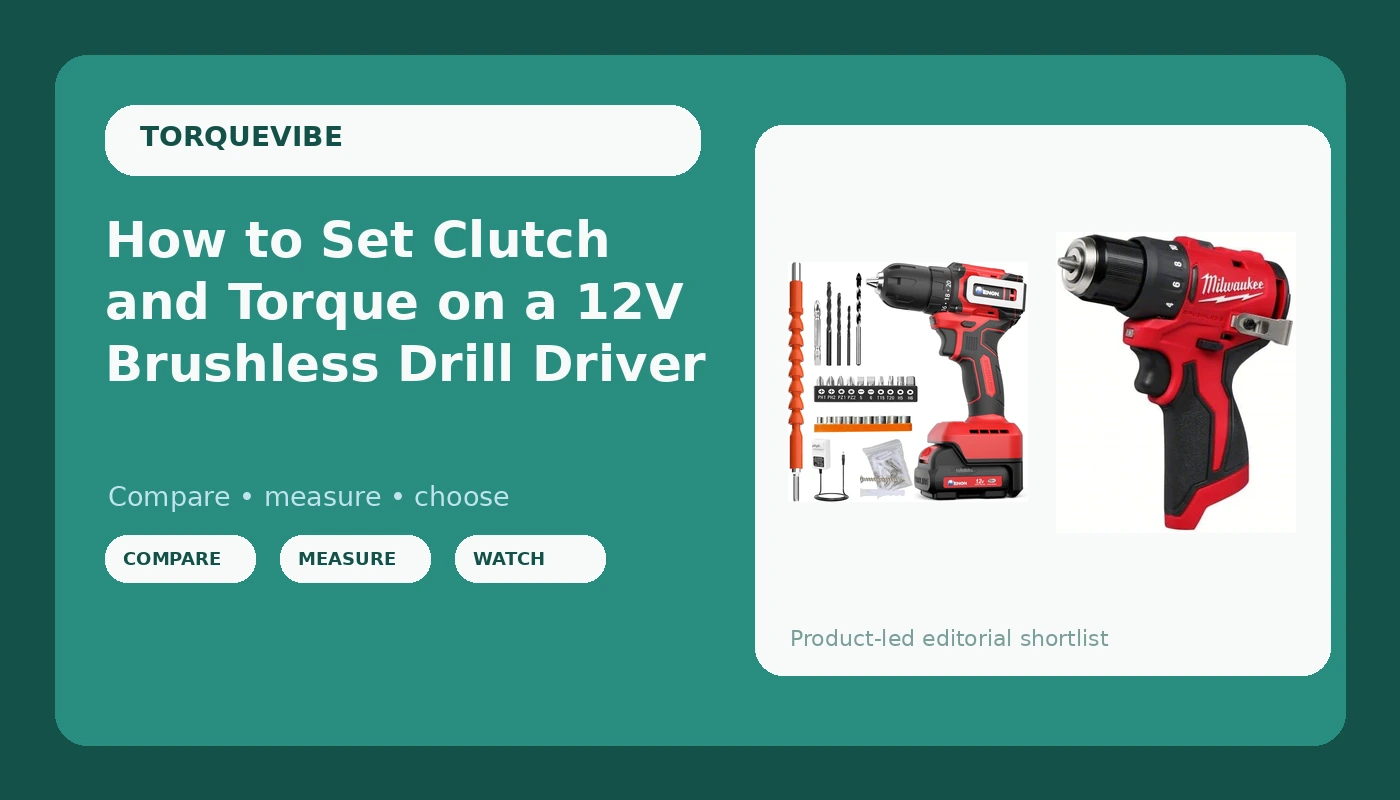
Most people who strip a screw head blame the screw. I have watched a hundred of them do it, and the screw was almost never the problem. The clutch was set wrong, the bit was spinning in a chuck nobody tightened, and the trigger got treated like an on/off switch. Learning how to set clutch and torque on a 12V brushless drill driver takes about ninety seconds, and it is the difference between a screw that seats flush and a screw you have to cut out with a multi-tool.
I ran a contracting crew in Cleveland for 22 years. Decks, basements, kitchens, the whole rusty Midwest menu. In that time I burned out more drills than most people will own in a lifetime, and every one of them is hanging on the graveyard wall in my shop. That wall taught me more about drills than any spec sheet ever did, and most of what it taught me was technique, not horsepower.
This is the short version of what I teach a new apprentice on his first Monday: which tool to grab, how to set the clutch, how to run the trigger, and how to keep a chuck biting after 200 bit changes.
Why you should trust me
Twenty-two years running my own crew in Cleveland. Decks, basements, kitchens, and a few hundred thousand screws in between. The graveyard wall in my shop has 30-some dead tools on it, each one with a story I can still tell: a screwgun with melted brushes, a hammer drill that caught fire mid-pour, an impact driver that stripped its own anvil.
The wall started as a joke and turned into the most honest review system I know. Nothing earns a spot on it without dying first, and nothing earns a recommendation from me without surviving a 200-screw deck build, a torque reading at screw 200, and a drop test the manufacturers would rather I skip.
I do not review tools off a spec sheet. If I have not dropped it, run it down to a dead battery, and watched the chuck under real load, I do not have an opinion worth printing.
How I picked and how I tested
Everything in this article got the same treatment on the same job: a 200-screw deck build in wet treated lumber, torque readings taken every 50 screws with my own meter, a full battery rundown timed from fresh charge to dead, and 200 bit changes with a slip check under load at the end of it. Then the drop. Six-foot step ladder, concrete slab, one bounce. Jobsites are not labs, and a tool that cannot survive a ladder does not belong on my truck.
Why the 12V subcompact class for this article? Because that is what most people actually need. A 12V brushless drill driver is light enough to hold overhead for a ceiling of drywall, short enough to fit between joists, and honest enough to teach you what the clutch does. The big 18V and 20V flagships are great tools, and I will argue about them another day. For learning technique, a subcompact is the better classroom.
Two things I check before anything else on a drill: does the chuck hold a bit under load without slipping, and does the clutch collar click through its settings cleanly and repeatably. A clutch that drifts between clicks is a clutch that will bury a screw through drywall.
The two drills I would hand a first-timer
These two cover the range. One is the cheapest brushless drill I would put in a beginner's hands without a warning label. The other is the subcompact I would carry myself. Both are 12V, both are brushless, and both make the technique in the next section easier to learn because neither one fights you.
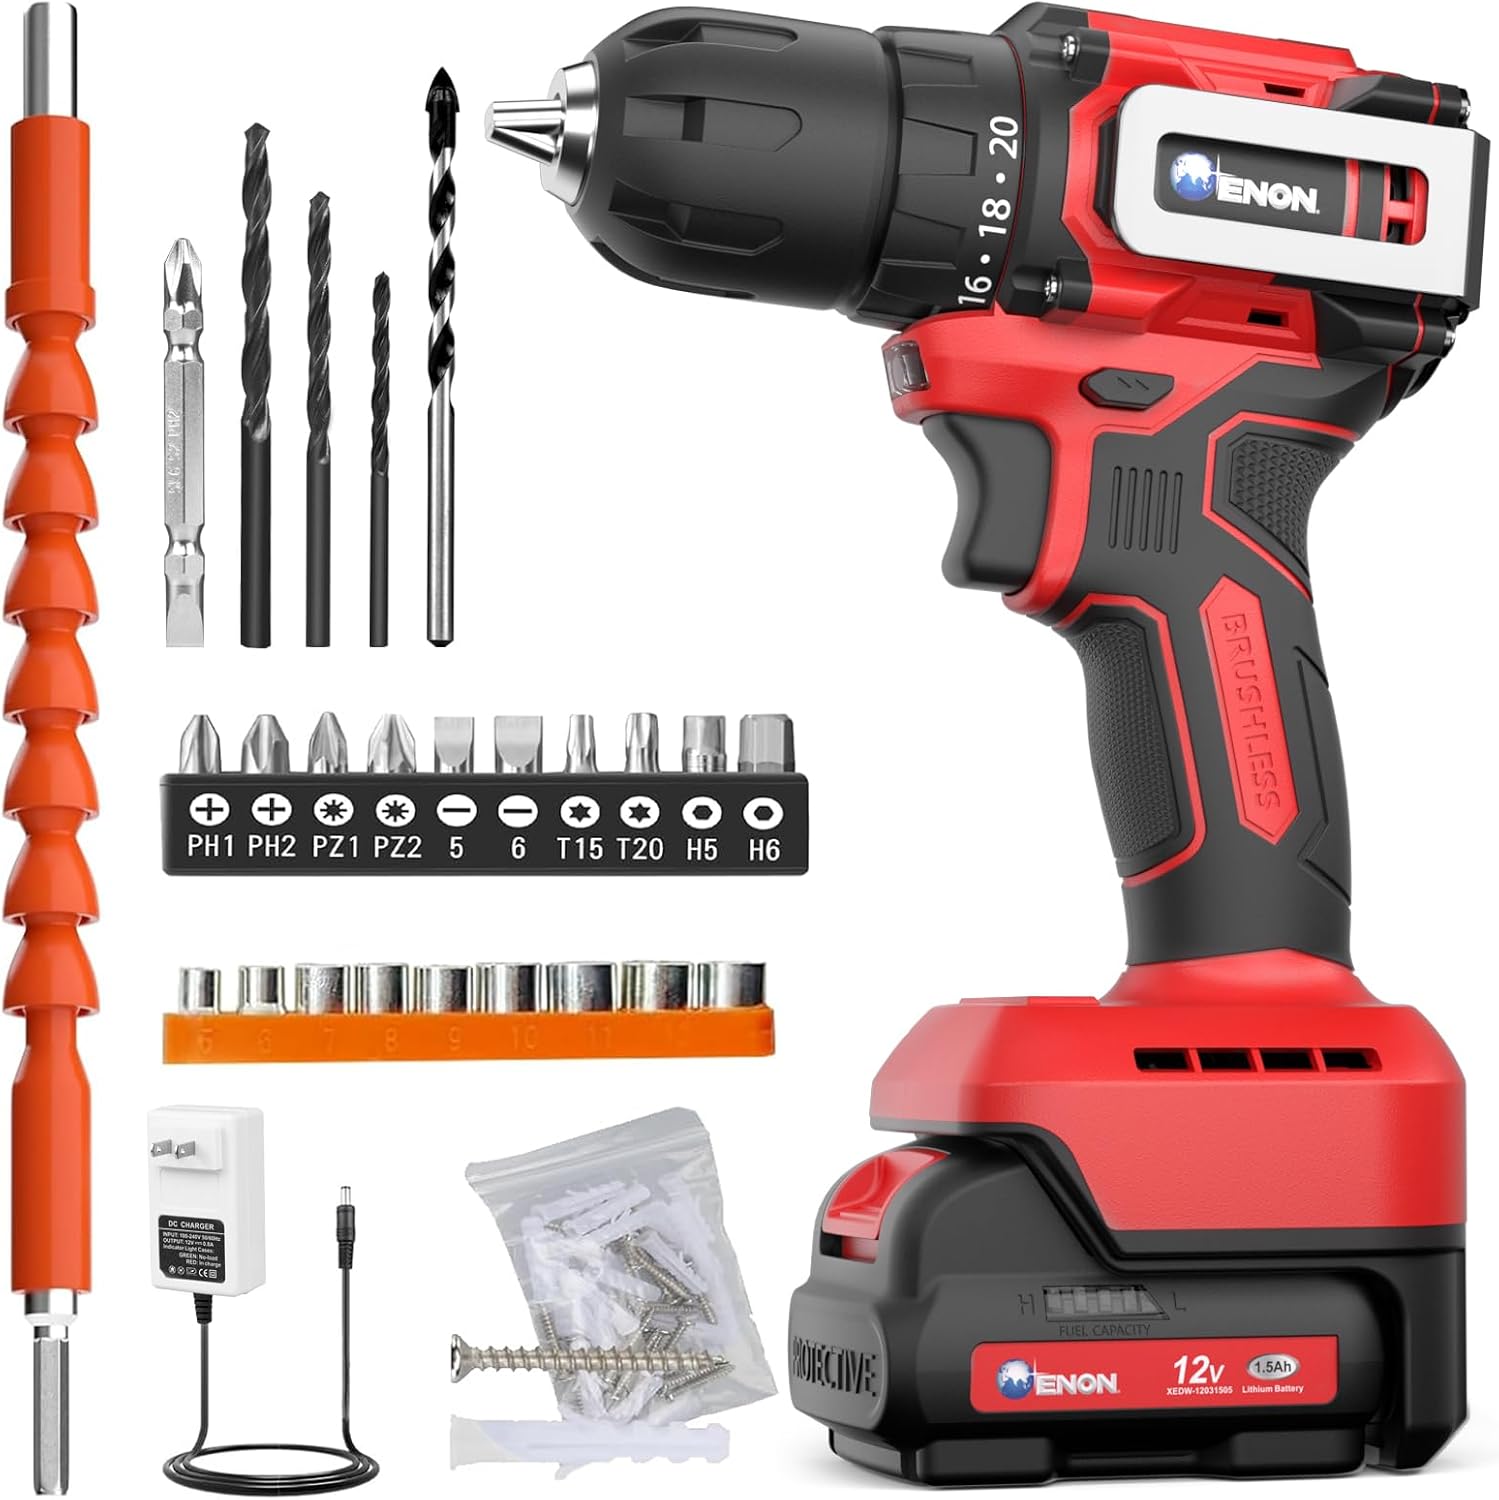
Budget pick: Brushless Cordless Drill Set,12V Power Drill Set with Battery and Charger, Electric Driver/Drill Bits, 3/8'' Keyless Chuck,20+1 Torque Setting, 300 inch-lbs, with LED Electric Drill Set
 Visit on Amazon →
Check current Amazon price. This is a complete kit: drill, battery, charger, and a starter set of bits. The 3/8 inch keyless chuck is the right size for the bits most homeowners already own, the 20+1 clutch gives you a real range to learn on instead of the five-click toy collars on the cheapest drills, and the rating on the box is 300 inch-lbs. For a beginner, that number is plenty. You are not driving 3-inch deck screws with a drill anyway, and if you are, you should be holding an impact driver.
The brushless motor matters more than the torque number at this price. Brushless means no carbon brushes to wear down, which is the single biggest reason cheap drills die in a season. Add the LED, which sounds like a gimmick until you are working under a sink, and it is a lot of tool for the money.
Flaws but not dealbreakers: The included bits are starter-grade. Buy a decent set of impact-rated driver bits and a couple of good drill bits and you will notice the difference immediately. The battery is a single, so plan on charging between projects rather than running all day.
Anyone furnishing a first apartment, hanging shelves, assembling furniture, or doing light repairs around the house will get years out of this.
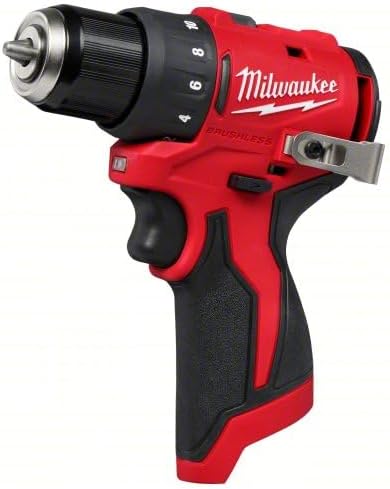
Our pick: Milwaukee Electric - M12 SUBCOMPACT BRUSHLESS 3/8 Drill/Driver,12V
 Visit on Amazon →
Check current Amazon price. This is the subcompact class done right. Milwaukee's M12 platform is the one I have the most hours on, and the reason is simple: it is small enough that you stop avoiding the tool. A 3/8 inch chuck, brushless motor, and a body short enough to fit in a kitchen cabinet with a drawer pulled out.
Here is the part nobody tells you about subcompacts. When a drill is light, you use better technique without thinking about it. Your wrist stays straight, the bit stays square to the screw, and the clutch actually gets a chance to do its job instead of being overpowered by your shoulder. That is why a 12V tool teaches good habits and a heavy drill teaches bad ones.
The battery platform is the real purchase, and this is where the M12 line earns its keep. You are buying into a family of tools that runs well past a hundred, from ratchets to lights to nailers. That is a ten-year decision, not a weekend one, and it is the reason I tell people to think about the platform before they think about the drill.
Flaws but not dealbreakers: It is not a heavy-duty tool. If your job is boring 1-inch holes through old framing all day, you want an 18V or a corded drill and you know it. Also budget for a second battery, because one compact pack runs out faster than you expect on a project day.
Anyone who wants one drill that will still be working in ten years, and who is willing to start building a battery platform around it, should look here first.
The actual workflow
Now the part you came for. This works on any drill with a clutch collar, and it works the same whether you are hanging a picture or building a deck.
Step one: pick the right tool. A drill is for making holes and for driving screws gently. An impact driver is for driving screws hard. If your screw is longer than about 2 inches, or you are driving into anything harder than pine, stop fighting your drill and get an impact driver. A drill will do it, badly, and it will strip the head on the way.
Step two: chuck the bit properly. Keyless chucks need more torque than people give them. Hand-tighten the collar, then give it one firm extra turn. If your bit spins in the chuck under load, it was never tight. This is the number one failure on cheap drills and it is almost always the operator.
Step three: match the bit to the screw. A number 2 Phillips bit for a number 2 Phillips screw. A bit that is one size off will cam out and chew the head no matter how perfect your clutch setting is. Replace bits when the tips round over. They are consumables, not heirlooms.
Step four: set the clutch. This is the whole trick. The clutch collar is a slip mechanism: it releases the chuck at a set amount of torque so the screw stops turning before the head strips or the screw buries itself. Start at the lowest number, drive a test screw, and click up one setting at a time until the screw seats flush with the surface. Then leave it there for that material and that screw length.
Step five: understand the drill setting. On most drills, the collar has a drill icon past the highest number. That setting locks the clutch out entirely and gives you full torque for boring holes. Use it for drilling, never for driving screws, or you have defeated the entire point of the clutch.
Step six: run the trigger like a throttle. Squeeze slowly for the first turn or two until the screw bites, then squeeze harder. The people who strip screws are the ones who yank the trigger to full speed from a dead stop and let the bit walk across the head.
Step seven: keep the bit square. Push straight in line with the screw. Any angle at all and the bit wants to climb out of the head. If you are working overhead or in a corner, this is where a small subcompact drill earns its price, because you can actually get your body behind it.
Step eight: pilot holes are not optional in hardwood. In pine, you can usually drive a screw straight in. In oak, maple, or anything reclaimed, drill a pilot hole slightly smaller than the screw shank. It takes ten seconds and saves a split board.
Step nine: two-speed selector. Low gear for driving, high gear for drilling small holes. Low gear gives you more control and more usable torque at the screw. Most beginners leave it in high and wonder why the clutch feels twitchy.
Step ten: battery care. Run lithium packs down but do not leave them dead for weeks. Charge them before you need them, not when you need them. A pack that lives at 100% in a hot garage ages faster than one that gets cycled.
The mistakes that kill drills and strip screws
Driving long screws with a drill instead of an impact driver. That is the number one way homeowners kill a small drill, and it is not the drill's fault. The motor runs hot, the clutch slips constantly, and the tool pays for your shortcut.
Setting the clutch to the drill icon and driving screws anyway. You have turned a precision tool into a hammer. Every screw either strips or buries.
Using a worn bit. A rounded Phillips bit will ruin a screw head in three turns, and then you will blame the drill.
Over-tightening the chuck by cranking it with both hands like a jar lid. Firm is enough. You are not sealing a submarine.
Leaving a battery on the charger for months. Modern chargers are smarter than they used to be, but heat is still the enemy of lithium cells. Charge, pull, store.
What this all costs
The budget kit runs a fraction of what the Milwaukee does, and for light around-the-house work it is genuinely enough tool. The M12 is the bigger commitment up front, and the honest way to think about it is cost per year of service. A cheap drill that dies in two seasons costs more per year than a good one that runs for ten, and it costs you a Saturday every time it quits in the middle of a project.
Then there is the platform math. If you buy into M12 today, every bare tool you add later is cheaper because you already own the batteries. That is how the price actually works out over a decade, and it is why I tell people to pick a battery system before they pick a drill.
The technique, though, is free. Ninety seconds with the clutch collar and a scrap of lumber will teach you more than any review, including this one. Set the clutch, let the tool do the work, and keep the bit square. That is the job, and it is the same job whether the drill in your hand cost twenty bucks or two hundred.
Get that right and the drill stops being the thing that strips your screws. It becomes the thing you reach for without thinking.