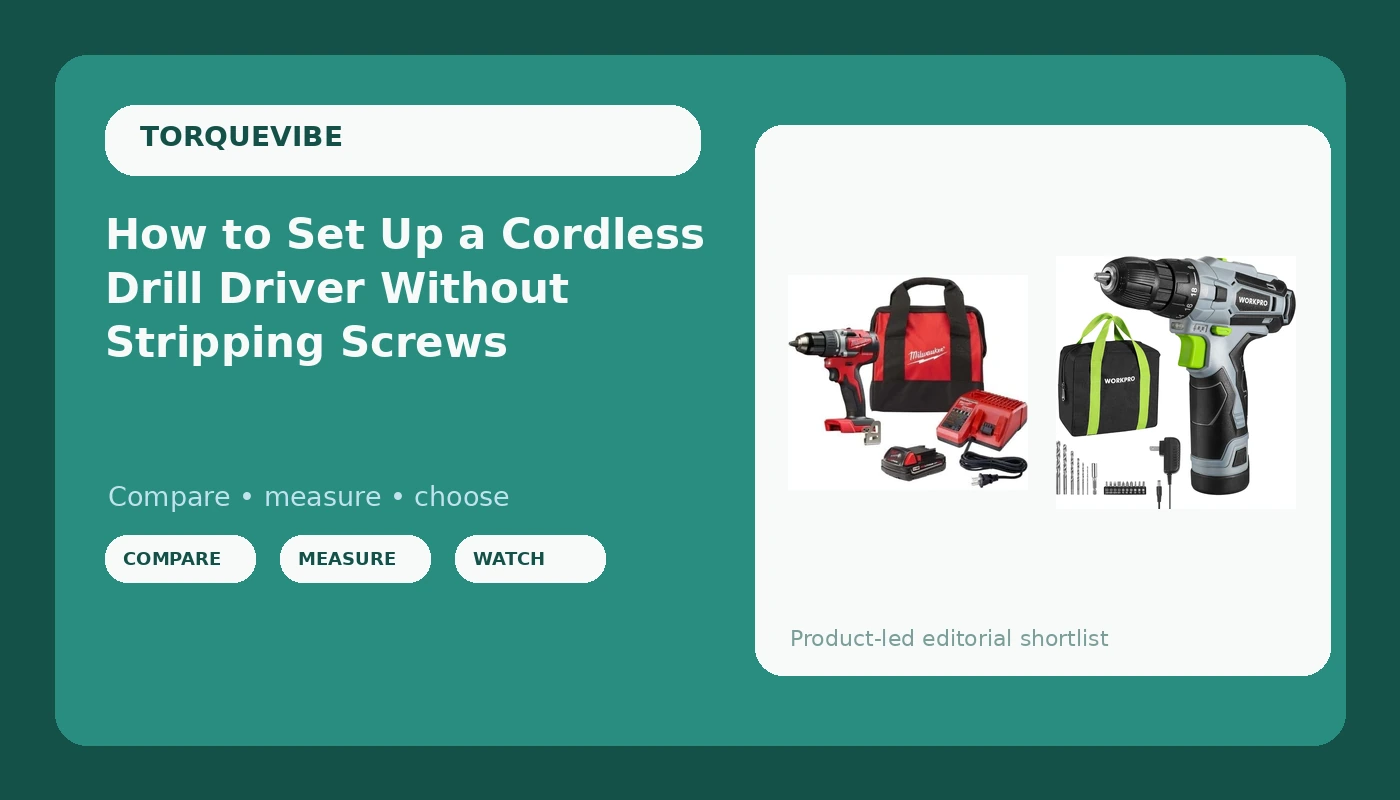
Most people blame the drill. The screw strips, the bit spins in the chuck, the battery sags halfway through a rail, and the tool takes the blame for a job it was set up to fail. I have watched that exact movie a few hundred times on my own jobsites, and nine times out of ten the drill is fine. The setup is wrong.
A cordless drill driver is really two tools sharing one body. It is a drill when you want a hole and a driver when you want a screw set to a depth you chose. The switch between those jobs is a clutch collar, a gear selector, and about thirty seconds of attention. Get that right and a 12-volt kit will outwork a premium drill that somebody left in the wrong mode.
What follows is the setup and technique routine I run on every drill that comes through my shop, plus the two models I would actually hand a homeowner or a first-year apprentice on a Monday morning.
Why you should trust me
I ran a general contracting crew in Cleveland for 22 years: decks, basements, kitchens, and a lot of wet lumber in October. I have burned out more drills than most people will ever own, and every dead one is bolted to the graveyard wall in my shop. There are 30-some tools up there now, each with a story. Nothing earns a permanent spot on my truck until it survives a 200-screw deck build, a full rundown from charge to dead, and one drop off a ladder onto concrete. Spec sheets do not survive contact with a jobsite. I write from the wall, not from the box.
How I judge a cordless drill driver
Four things, in this order.
The chuck. A keyless chuck that slips under load is a lying tool. I do not care what the box claims. Load a bit, run it into a scrap of wet 2x10, back it out, and look at the bit shank. If the jaws left a polished ring where the bit was spinning, the chuck is the problem.
The clutch. The adjustable collar that stops the driver from burying a screw. A usable clutch has enough detents to give you a setting between spins in place and drives straight through the drywall. If the collar clicks through five positions and jumps from nothing to everything, you will strip screws and hate the tool.
The battery platform. You are not buying a drill. You are buying into a family of batteries for the next ten years. That decision outlives the drill by a wide margin, and it is the biggest reason I tell people to think past the first tool.
Weight and balance. A drill that is nose-heavy and two pounds too heavy gets left in the truck. The best drill is the one you actually pick up.
Those four tests are the reason the list below is short.
The two drills I would start you on
One is a 12-volt kit for the household list. One is an 18-volt compact kit on a pro platform. They are not competitors. They are answers to two different questions.
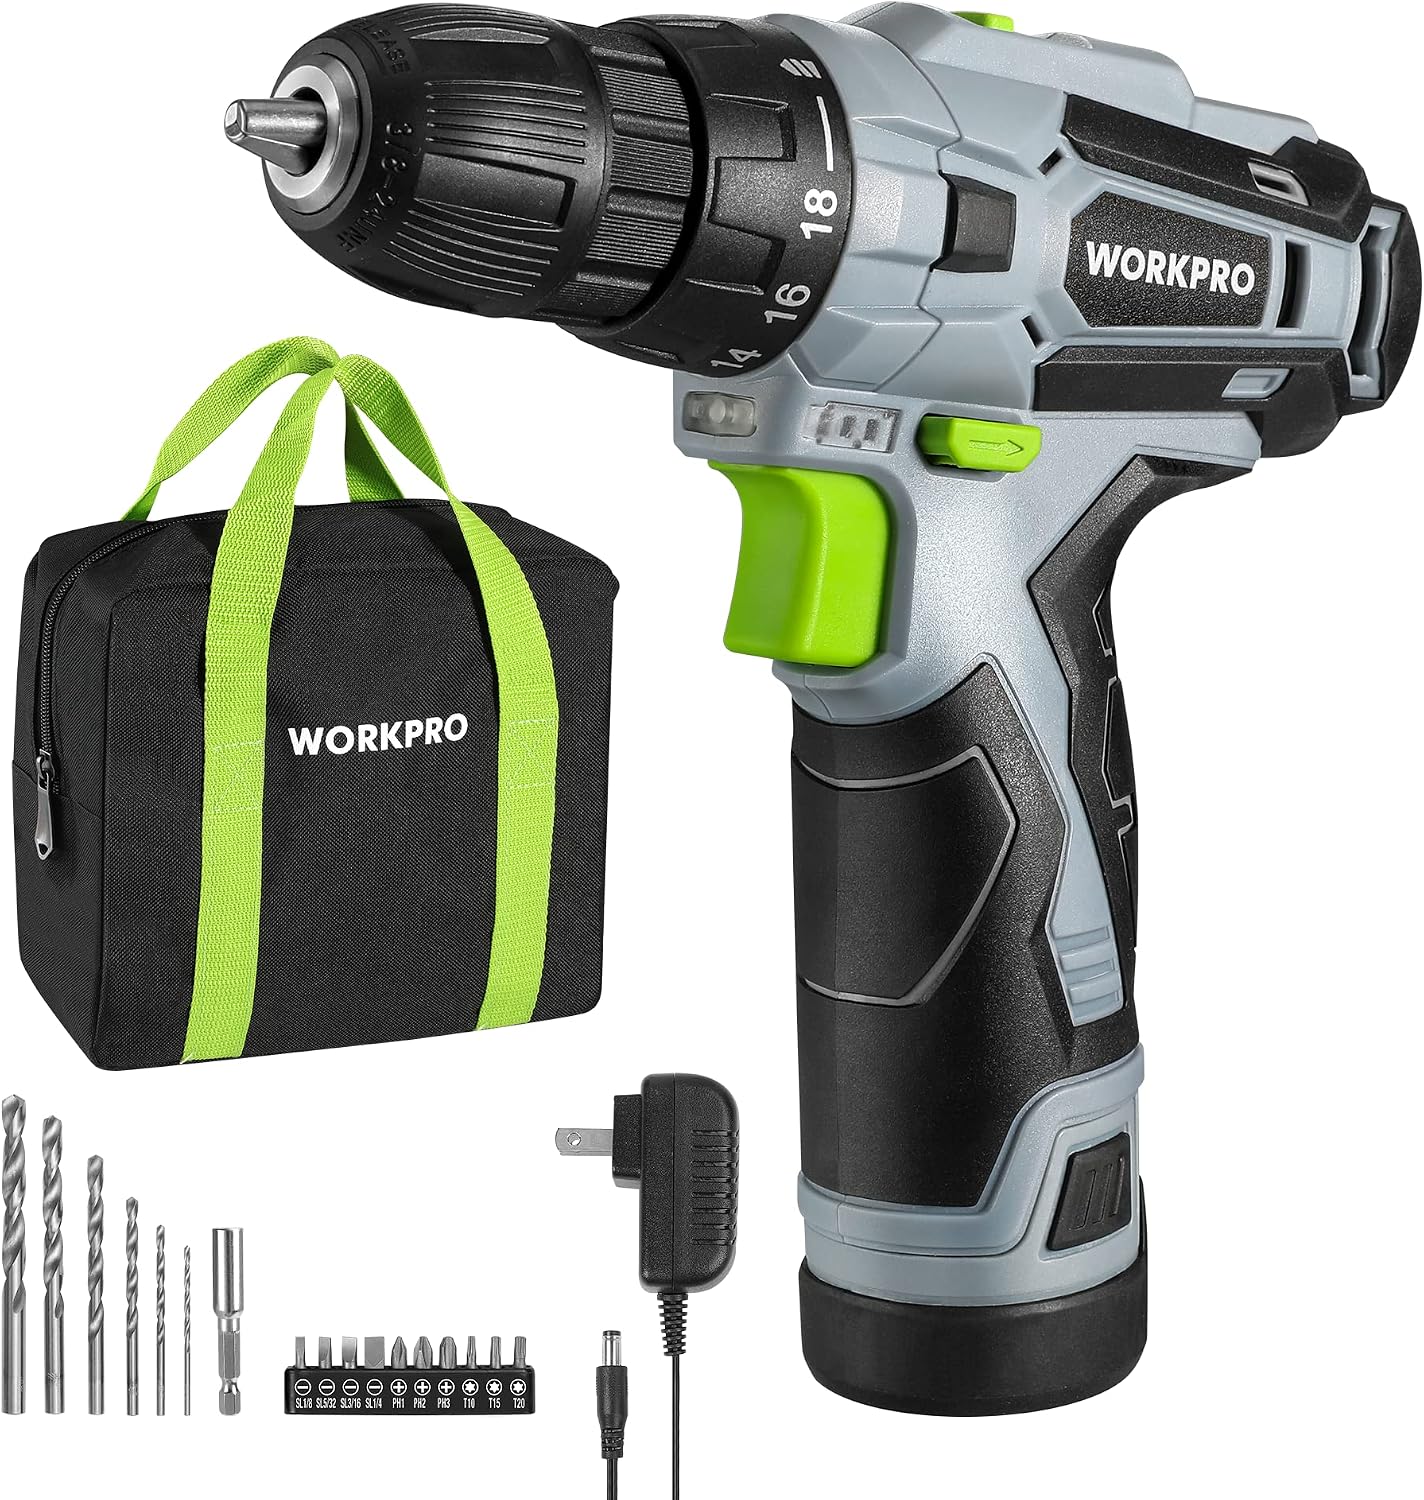
Budget pick: WORKPRO Cordless Drill Driver Kit, 12V Electric Screwdriver Driver Tool Kit, 3/8" Keyless Chuck, Charger and Storage Bag Included
 Visit on Amazon →
This is the kit I point at when someone tells me they need a drill for furniture, curtain rods, a garage shelf, and the occasional picture hanger. It is a 12-volt driver with a 3/8-inch keyless chuck, and it comes with a charger and a storage bag, which matters more than people think. A bag means the tool lives in one place instead of rolling around a drawer with the bits.
The 3/8-inch chuck is the right call for this class of tool. It takes the small twist bits and hex shanks that household work runs on, and the lighter body means you can drive screws overhead without your forearm giving out. Check current Amazon price before you commit, because entry-level kits move around a lot.
Flaws but not dealbreakers: Twelve volts is a ceiling, not a suggestion. This is not the drill for a 3-inch deck screw or a 1-inch spade bit through wet lumber, and it is not the tool for a full day of framing. Use it inside, on assembly and light repair, and it will last.
Anyone furnishing a first apartment, hanging shelves, or assembling flat-pack furniture will be happy with this kit.
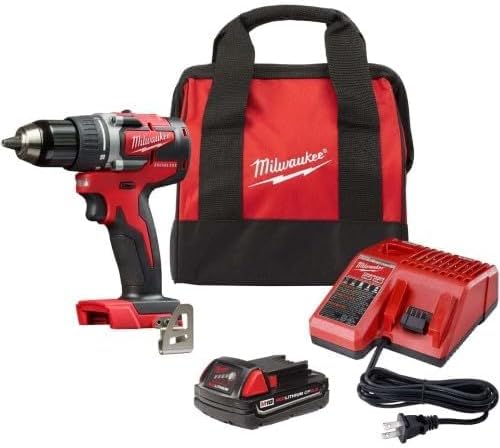
Our pick: Milwaukee M18 18V Lithium-Ion 1/2 Inch Cordless Drill Driver Compact Kit 2606-21CT
 Visit on Amazon →
This is the one I hand the apprentice. An 18-volt compact drill driver with a 1/2-inch chuck on the M18 platform, which is the battery family I trust more than any other. The 1/2-inch chuck takes the spade bits, hole saws, and step bits that real work needs, and it holds them. Milwaukee chucks bite, and a chuck that bites is the difference between a drill and a paperweight.
The bigger point is the platform. M18 is the reason this is my pick over any single-brand kit. The battery you buy with this drill runs an impact driver, a circular saw, a recip saw, and a light, and you can add those later as bare tools without paying for another battery every time. Ten years from now you will still be able to buy M18 batteries. That is what you are actually buying.
Flaws but not dealbreakers: It is heavier than the 12-volt kit, and it is a platform commitment rather than an impulse buy. Check current Amazon price on the listing, then price out the second bare tool you know you will want. If the total still makes sense, this is the last drill you will need to think about for a long time.
Anyone who owns a house, works on cars, or plans to build anything bigger than a bookshelf should start here.
The setup routine: eight steps before your first screw
This is the part people skip. Run it once and the drill stops fighting you.
Step one: charge the battery and let it settle. A pack straight off the charger is warm, and a warm pack gives up voltage faster under load. Charge it, then let it sit while you lay out the work. If it is a Cleveland winter and the pack spent the night in the truck, bring it inside first. Cold lithium is lazy lithium.
Step two: match the bit to the screw before you touch the drill. A Phillips bit one size too small is the number one cause of stripped screw heads. Number two Phillips for most screws, a star or Torx bit for deck screws, and a hex bit for furniture bolts. If the bit rocks in the screw head, it is the wrong bit.
Step three: seat the bit properly in the chuck. Push the bit all the way in, then tighten the collar. On a keyless chuck, hand-tighten it and give the collar one extra snug turn. Do not gorilla it. The bit should not move when you wiggle the tip.
Step four: set the clutch. The numbered collar controls how much torque the driver delivers before it slips. Start low, around 8 to 10, on softwood, lower for drywall and cabinet work, higher for hardwood and lag screws. If the clutch slips before the screw seats, go up one number. If you are crushing the wood around the head, go down.
Step five: pick your gear. Two-speed drills have a low gear for screws and big bits and a high gear for small holes. Low gear is the one you want most of the time. High gear is for a 1/8-inch pilot hole, not for driving.
Step six: choose drill mode or drive mode. The drill icon means the clutch is bypassed and you are boring a hole. The screw icon with the numbers means the clutch is live and you are driving. Leaving the tool in drill mode and driving screws is how you bury a head an inch into pine.
Step seven: work the trigger. Slow hands, fast work. Squeeze the trigger gently to start the bit turning before it bites, then let the tool do the work. Pushing hard does not make a drill faster. It makes it hot, and hot is how brushes die.
Step eight: support the work and line up your body. Put your weight behind the drill, keep the bit in line with the screw, and brace the workpiece so it does not spin. On hardwood, drill a pilot hole first. On a ladder, keep one hand on the rail and stop when your arm starts to wander.
The mistakes that end up on my graveyard wall
Almost every dead drill I own died from one of these.
- Driving screws in drill mode with the clutch bypassed, then wondering why the motor smells hot.
- Using a 12-volt kit for a deck build. It is not the voltage that kills it, it is the duty cycle.
- Skipping pilot holes in hardwood, then leaning on the drill until the bit smokes.
- Letting a bit spin in a loose chuck. That polishes the shank, and the chuck never grips that bit again.
- Leaving the battery on the charger in a freezing garage for months at a time.
- Buying a drill instead of a platform, then paying full kit price for every tool after that.
What you are really paying for
The WORKPRO kit and the Milwaukee compact kit sit in two different brackets, and the gap between them is not just voltage. The budget kit is a complete answer to light household work: tool, charger, bag, done. The Milwaukee kit buys you a tool, a charger, a battery, and a seat on a platform that will still be selling batteries when this drill becomes somebody's hand-me-down.
Do the math on the whole decade, not the checkout page. Count the cordless tools you expect to own: a drill, an impact driver, maybe a saw, maybe a light. If that number is one, buy the budget kit and keep your money. If it is three or more, buy the platform, because the second and third tools are where the savings live. Check current Amazon price on both listings and compare them against the bare-tool prices in the same family before you decide.
The short version
Set the clutch, choose the gear, match the bit, and let the tool do the work. A drill driver is not a hammer and it is not a race. Used properly, a budget kit will outlast an expensive drill that somebody ran in the wrong mode for a season.
If you need one drill for the house, the WORKPRO kit covers it. If you are starting a platform you will still be using in ten years, the Milwaukee compact kit is where I would put my money.