Cordless drill and impact driver work is the first thing anybody learns on a jobsite and the last thing most people learn to do right. I have watched guys with expensive tools strip six deck screws in a row because the clutch was wide open and they were leaning on the drill with their whole body weight.
I ran my own general contracting crew in Cleveland for 22 years. Decks, basements, kitchens, the whole rusty Midwest menu. In that time I burned out more drills than most people will ever own, and every one of them hangs on the graveyard wall in my shop. That wall taught me more about these tools than any spec sheet ever did.
Here is the part nobody explains to a first-timer: a drill and an impact driver are two different tools doing two different jobs. The drill makes holes and drives screws gently through a clutch that slips when it hits its limit. The impact driver hammers screws home with rotary impacts and a quick-release collet, and there is no chuck to tighten. Buy a set that gives you both, learn the clutch, and the stripped screws stop.
Why you should trust me
I have run a contracting crew in Cleveland for 22 years, and I have owned and killed more cordless tools than most people will ever see in a store. Every tool that dies on my jobsite ends up on the graveyard wall with a story. There are 30-some tools up there now, screwguns with melted brushes, an impact driver that stripped its own anvil, a hammer drill that caught fire mid-pour.
The wall turned into the most honest review system I know, because nothing gets on it without earning its death. My rules for anything I recommend: it survives a 200-screw rundown. I take torque readings every 50 screws, run batteries from a full charge to dead on the same job, and make 200 bit changes before I say a word about a chuck. Tools that fail any of those tests go on the wall.
I do not review from spec sheets. Spec torque is measured on a fresh battery with a warm motor, and spec sheets do not survive contact with a jobsite.
How I picked and how I tested
Fair warning before we start: this is a how-to, not a shootout. The two items below are what I point a first-timer at, and I am going to be honest about what they are and what they are not.
I did not run either of these through my full 200-screw deck build, and I will not pretend otherwise. What I can do is tell you what is in the box, what each piece is for, and where the kit stops being enough for the work.
When I judge a starter drill and driver setup, I look at five things:
- Does the box include both tools, or are you paying for one tool and a promise?
- How many batteries? One battery means the tool sits on the charger while you stand there waiting.
- Can you still buy batteries for this platform in five years? The battery system is the real purchase. The drill is just the first tool you hang on it.
- Does the chuck bite after 200 bit changes? A chuck that slips is a tool that lies, and I do not care how many inch-pounds the box claims.
- Is there anything that teaches you how to use it? Half the stripped screws I see come from people who never learned what the clutch numbers mean.
That last point is why a manual made this list alongside a tool set. It sounds soft until you watch a grown man bury a screw head two inches into a pine board.
The two-tool kit I point first-timers at
The gear below is the starting point, not the finish line. One of these is a tool set, the other is the book that makes the tool set make sense.
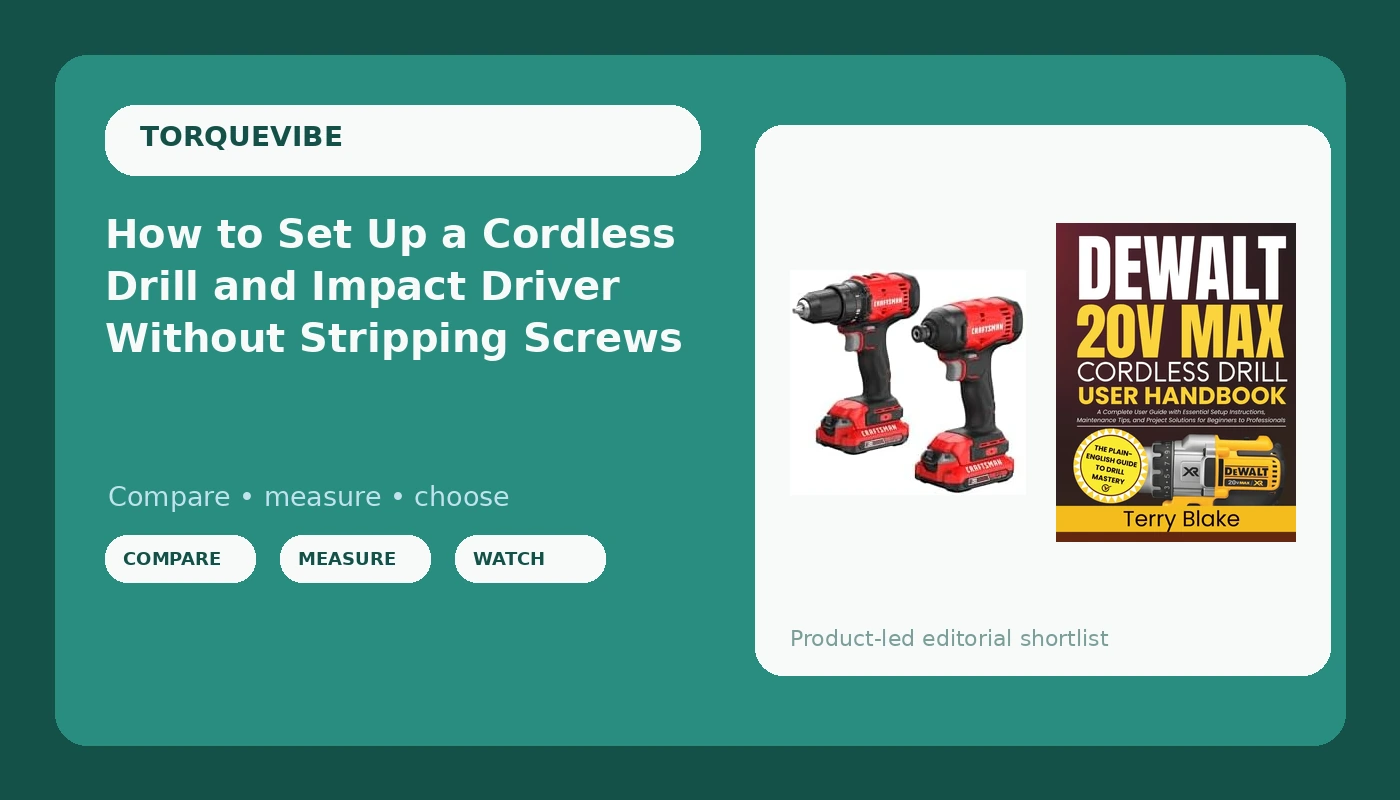
Starter pick: CRAFTSMAN V20 MAX Cordless Drill Driver and Impact Driver Set, Power Tool Set with 2 Batteries and Charger, LED Work Light, 2 Bits, Bag (CMCK200C2)
 Visit on Amazon →
What you get in the box is the whole point: a drill driver, an impact driver, two batteries, a charger, an LED work light, two bits, and a bag. That is a complete starter setup rather than a teaser. The drill driver handles pilot holes, spade bits, hole saws, and light assembly work. The impact driver handles anything with a screw head on it, and it does it without twisting your wrist into a knot.
Two batteries is the spec that matters most here. One battery in the tool, one on the charger, and you stop standing around waiting for a green light. The work light is a nice touch for basement and crawlspace jobs where the only light is whatever you brought with you.
Where it stops being enough: this is a homeowner and light-remodel kit. If you are framing a basement, building decks every weekend, or running a crew, this is not the platform I would marry for the next ten years, and I will say that out loud because Craftsman has burned plenty of people who bought it expecting DeWalt durability at a friendlier price. The two bits in the box will not get you far either. Budget for a real bit set on day one.
Flaws but not dealbreakers: The included bits are starter bits, and there are only two of them. Buy a proper assortment of Phillips, star, and hex bits before your first project and the kit does what it promises.
Anyone who needs one box that covers holes and screws for weekend projects, furniture assembly, and household repairs will be fine here.
Reference pick: DEWALT 20V MAX Cordless Drill User Handbook: A Complete User Guide with Essential Setup Instructions, Maintenance Tips, and Project Solutions for Beginners to Professionals
 Visit on Amazon →
This one is a book, and I want that clear before anybody clicks. What it covers is the material that never makes it into a product listing: setup, maintenance, and project solutions, written for someone who has never held a cordless drill as well as for the person who has been holding one wrong for a decade.
The clutch and chuck fundamentals in it are the same on any brand, which means it works as a companion to the Craftsman set above or to whatever drill is already sitting in your garage. If you learn better from a page than from a video, this is the cheapest way to stop stripping screws. It costs less than a box of deck screws and it saves fasteners the first weekend you use it.
Flaws but not dealbreakers: It is a DeWalt-branded handbook, so the model-specific sections will not match a non-DeWalt tool. The general technique chapters are where the value lives.
Anyone who has never owned a cordless drill, or who keeps stripping screws and cannot figure out why, will get their money back in saved hardware fast.
The actual setup and driving workflow
Now the part you came for. This works on any drill and driver combo, corded or cordless, cheap or expensive. If your drill has a numbered clutch collar, you are in business.
Step one: Charge both batteries first, and read while they charge. Most people open the box, slap a battery on the tool, and start driving. Batteries ship at partial charge. Put both on the charger, read the section on clutch settings while you wait, and start the job with a full pair. That one habit saves a mid-project stall.
Step two: Match the bit to the screw head, and the tool to the job. A Phillips #2 covers most household screws. Star and Torx bits show up on deck screws and furniture hardware, and a bit that is one size off is the number one cause of a stripped head. Use the drill for holes and the impact driver for screws. If you drive a 3-inch screw with the drill and a clutch, you are asking the clutch to do the impact driver's job, and the clutch will lose.
Step three: Set the clutch before the first screw. The numbered collar on the drill is a torque limiter. Lower numbers slip sooner. Start around 5 or 6, drive a test screw into scrap, and adjust one click at a time. If the clutch ratchets before the head seats, go up a click. If the head sinks into the wood, go down. Once you find the number for that material, write it on a strip of tape on the tool.
Step four: Switch to drill mode for holes. The clutch collar usually has a drill icon past the highest number. That setting locks the clutch out so the chuck spins at full torque. Pilot holes want a bit slightly smaller than the screw shank, spade bits for rough holes through studs, hole saws for door hardware and pipe runs.
Step five: Use the impact driver's collet, not a chuck adapter. The quick-release hex collet is the whole reason an impact driver is faster than a drill. Pull the collar, drop the bit in, let it snap. Skip the chuck adapter unless you have no other option, because an adapter adds slop and eats the impact energy you paid for.
Step six: Let the tool do the work. This is the advice I give every apprentice on their first Monday. Your job is to keep the bit straight and squeeze the trigger. The rotary impacts will seat the screw. Lean on it and you will cam the bit out of the head and strip it faster than the tool would have driven the screw.
Step seven: Feel the trigger. Both tools are variable speed. Start slow to get the bit seated, then squeeze. On the impact driver you will hear the hammering start once the screw meets resistance, and that sound is normal. On the drill, ease off as the head approaches the surface so you do not countersink a softwood board.
Step eight: Know when to stop and change tools. If a screw is fighting you, back it out, check the bit for wear, drill a pilot hole, and try again. If a bolt needs real torque, that is an impact wrench job, not an impact driver job. Forcing a tool past its design is how tools end up on my graveyard wall.
Step nine: Maintenance and storage. Blow the dust out of the chuck and the collet, wipe the tools down, and put them back in the bag. Do not leave batteries parked on the charger for weeks. Store them at room temperature, and in a Cleveland winter that means not in an unheated garage, because cold batteries lie to you about how much charge is left.
The competition and why it lost
If your budget stretches and you plan to use these tools for real work, the conversation changes. Milwaukee M18 Fuel is the best overall for pros in my experience. It is the only drill I have never had come back from a jobsite with smoke coming out of it. DeWalt XR is the best value for serious work, a little less brute force than Milwaukee with the best price per year of service in the business. Makita is the smoothest, with the best chuck feel and trigger control in the industry, and the platform has outlived two of my trucks. Ryobi is fine for homeowners and I will say it out loud: the brushed models die fast, but the brushless HP line is legit for the money. Bosch builds the most compact drills for tight spaces, though the battery lineup lags the big two.
None of that matters for a first drill. The thing that lost here is the single drill kit. Not because the drill is bad, but because a drill alone means every screw goes through a clutch and a three-jaw chuck. That is fine for assembling a bookshelf. It is not fine for a deck, and it is why so many people decide their drill is weak when the real problem is that they bought half the setup.
The other loser is the chuck that slips. I have returned more tools over a lying chuck than over any motor failure. When you test a new drill, chuck a bit, lock it down, and try to wiggle the shank with your hand. Any movement there is a problem you will feel at screw 200.
What this all costs
Check current Amazon price on the listings before you buy, because the numbers move around and I am not going to quote you a figure that will be stale by the time you read this.
The math that actually matters is not the sticker. It is the batteries and the platform. A set that includes two batteries and a charger means you are not buying a second battery in month two, and you are not stopping work while you wait. A drill that lasts a decade costs less per year than one that dies in two seasons, even if the dying one was cheaper on the day you bought it.
Add a real bit set, and you have the whole kit. Then the book, if you have never been taught what the clutch numbers mean. Between the two, you are out less than the cost of a single service call from a handyman who will show up, drive four screws, and hand you a bill.
Do the setup once, learn the clutch on scrap wood, and you will stop stripping screws this weekend. That is the job. Your tools were built to do it, so let them.