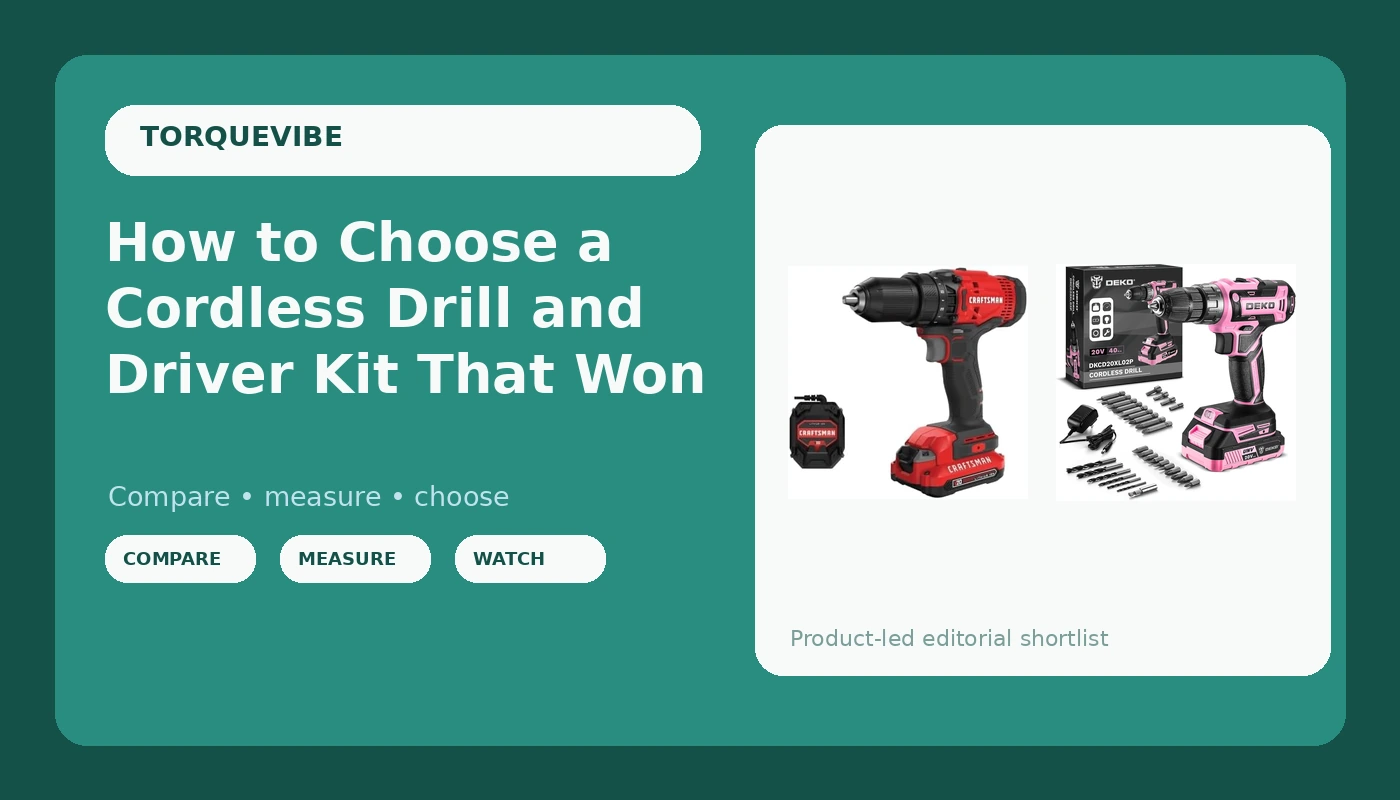
Most people buy a cordless drill and driver kit the same way they buy a toaster. They grab whatever is on the endcap, take it home, and find out on the first project what they actually got. Then they blame their hands when the bit slips, the screw strips, or the battery dies two shelves into a four-shelf job.
I ran a general contracting crew in Cleveland for 22 years. Decks, basements, kitchens, the whole rusty Midwest menu. In that time I have watched the same scene play out on a hundred jobsites, and the tool is almost never the problem. The setup is.
The good news is that the setup takes ten minutes and costs nothing, and the drill that fits your life is probably not the one the endcap wants to sell you. This is how to pick a cordless drill and driver kit, and how to run it so screws go in straight the first time.
Why you should trust me
I have burned out more drills than most people will ever own. Brushed motors smoking on 3-inch deck screws, chucks that slipped on brand-new bits, batteries that quit at the worst possible moment on a Friday afternoon. Every tool that died on my jobsite ends up on the graveyard wall in my shop, and there are 30-some of them up there now. Nothing earns a spot on that wall without dying honestly, and nothing earns a recommendation here without surviving the same treatment.
My test routine is not a lab routine. Drills that come through my shop run a 200-screw deck build with a torque reading every 50 screws, a battery rundown from full charge to dead, 200 bit changes with a slip check under load, and a drop off a ladder rung. Jobsites are not labs, and a tool that only works in a lab is not a tool I can use.
I do not review spec sheets. Torque numbers are measured on a warm battery with a fresh charge, which is not the condition your drill will be in at screw 200. I care what a tool does when it is tired, because that is when you will be using it.
How I picked and how I tested
At the pro level I have loud opinions about which brushless platform wins. This article is not that. This is the entry level, where the questions are different and, honestly, more important, because your first drill decides whether you ever buy a second one.
Four things decide whether you will still like a drill in two years. Does the chuck bite and hold a bit without slipping? Does the clutch have enough range to seat a screw without stripping the head? Does the box include the battery and the charger, or is that a second purchase hiding in the fine print? And will you still be able to buy batteries for it in five years?
That last one is the one nobody thinks about. You are not buying a drill. You are marrying a battery platform. Ten years from now you will still be feeding it, and a drill from a brand that abandons its battery line is a paperweight with a nice grip.
Both drills below are light-duty kits and I am going to be honest about that. One is the cheapest sensible way into cordless. The other is a 1/2-inch kit from a name brand with a real battery family behind it. Neither one is going on my truck. Both are right for a garage.
The two drills that fit this method
You cannot drive a screw straight with a drill that fights you, so start with the tool. Here are the two I would hand a first-timer, and exactly what each one is good for.
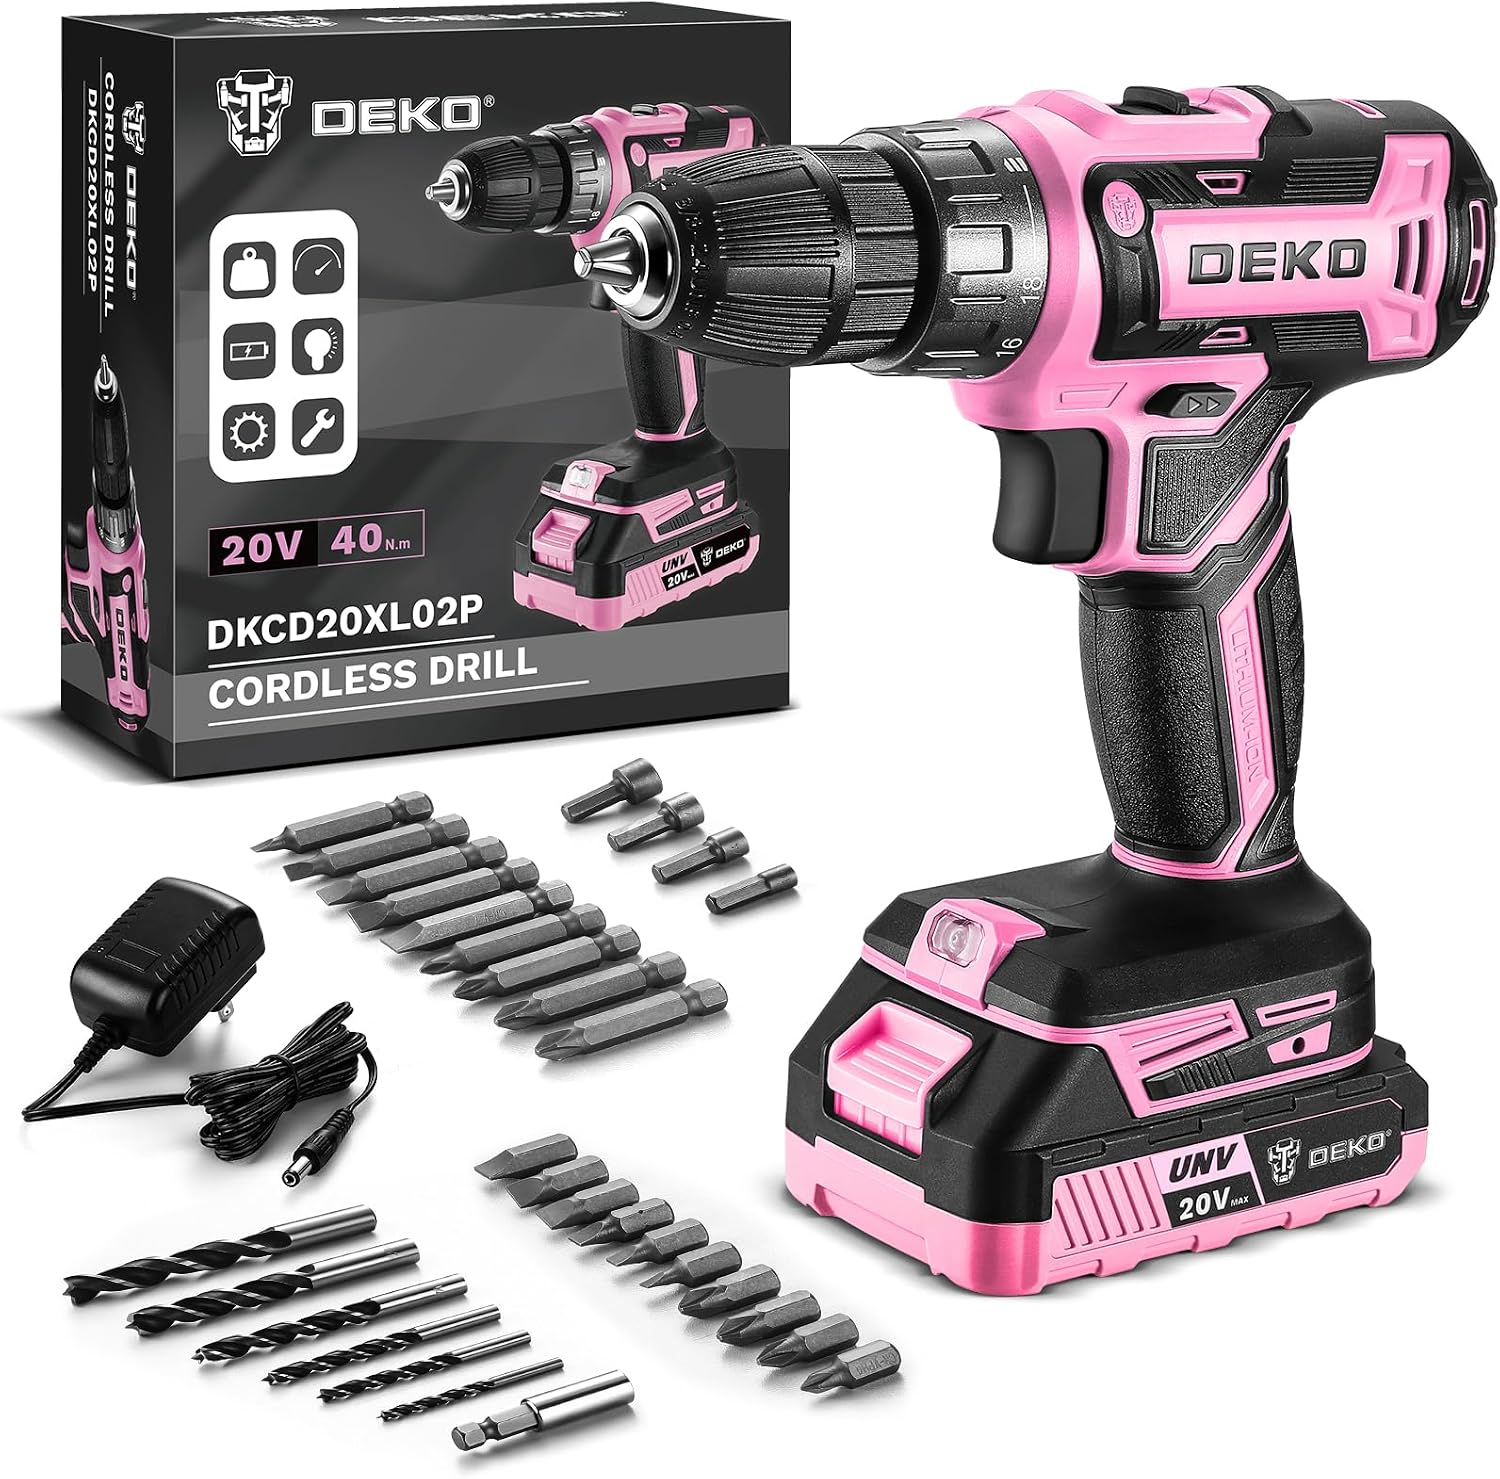
Budget pick: Power Drill Cordless: DEKOPRO Pink Cordless Drill 20V Electric Power Drill Set Tool for Women Drills with Battery and Charger 20 Volt Drills Driver Kit
 Visit on Amazon →
The pink shell is marketing. The guts are a standard 20V budget drill, and that is fine, because a standard 20V budget drill handles about 80 percent of what a homeowner actually does. It arrives as a kit with the battery and the charger in the box, which is the part that matters. No hidden second trip to the store before you can hang a shelf.
Where it earns its keep: assembling furniture, hanging shelves and curtain rods, driving screws into pine and drywall anchors, small pilot holes for hardware. Where it does not: 3-inch deck screws, 1/2-inch spade bits through wet lumber, or anything where you are leaning on the tool with your shoulder. Lean on a budget drill and you will smell the motor before you finish the row.
The chuck is the part to watch at this price. Tighten it by hand in all three jaw positions, snug and not gorilla-tight, and swap out any bit that starts camming out of the screw head. A dull, cheap bit makes a decent drill look broken. Check current Amazon price before you commit.
Flaws but not dealbreakers: One battery, a brushed motor, and a shorter service life than anything brushless. Expect to buy a second battery before you expect to buy a second drill.
Anyone who needs a light cordless drill for around-the-house work and wants to spend as little as possible will be happy here.
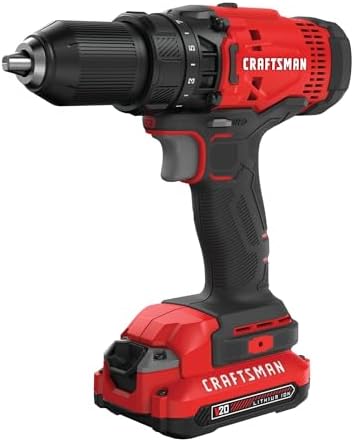
Step-up pick: CRAFTSMAN V20 Cordless Drill/Driver Kit, 1/2 inch, Battery and Charger Included (CMCD700C1)
 Visit on Amazon →
The 1/2-inch keyless chuck is the reason to step up. It takes the full range of bits, including spade bits and hole saws, so the tool does not quit on you the first time a project gets real. Battery and charger are in the box, and the V20 platform is an actual family of tools, which means the battery you own today runs a sander or a trim saw later.
Now the honest part. I have said unkind things about Craftsman, and I meant them for jobsite work. This is not the drill I would hand my apprentice on a Monday morning, and it is not surviving a season in a truck bed. It is a homeowner tool, and as a homeowner tool it does the job. Treat it that way and it will last.
Keep an eye on the clutch collar detents and the chuck jaws over time, and keep the battery out of a freezing garage. Cold kills more of these than hard use does. Check current Amazon price for the current number.
Flaws but not dealbreakers: One battery in the box, and a brushed motor, which means shorter runtime and a shorter life than a brushless tool. A second battery is the first accessory worth buying.
Anyone who wants a real 1/2-inch chuck and a battery platform that will still exist in five years should start here.
The actual workflow: how to set up a cordless drill and drive screws clean
This works on either drill above, and on almost any cordless drill you already own.
Step one: charge the battery all the way. A half-charged battery is the number one cause of "this drill is weak." Give it a full charge before the first screw, not after the first stripped head.
Step two: pick the right bit for the job. Driver bits for screws, drill bits for holes, and match the bit to the screw head. Most furniture and framing screws are a Phillips #2 or a star drive. If the bit rocks in the screw head, it is the wrong size, and you are about to strip it.
Step three: set the clutch. That numbered collar behind the chuck is the most ignored control on any drill. Start at 3 or 4, drive a test screw into scrap, and step the collar up one number at a time until the screw seats flush. Soft pine lands low. Hardwood lands higher. When the clutch starts ratcheting, that is the tool telling you it is done, not asking you to push harder.
Step four: know your two modes. The drill icon locks the clutch out for boring holes. The numbers are for driving screws. Using drill mode to drive screws is how people bury heads through drywall and split cabinet doors.
Step five: use the gear selector. Low gear for torque, high gear for speed. Holes go in on low with a slow, steady feed. Small pilot holes can run on high.
Step six: drill pilot holes. Any screw near the end of a board, any hardwood, any time you would rather not split the piece. Size the pilot hole to the shaft of the screw, not the threads.
Step seven: let the tool do the work. Keep your wrist straight and the line from your shoulder through the bit. Apply enough pressure to keep the bit seated, not enough to bury the drill. If you are leaning into it, you are in the wrong mode or holding the wrong tool.
Step eight: chuck discipline. Keyless chucks get snugged by hand, evenly, not cranked like a lug nut. After a couple hundred bit changes a cheap chuck starts to slip under load, and that is when you replace the drill, not the bit.
Step nine: battery care. Do not store a battery dead, do not leave it sitting on the charger in an unheated garage, and bring it inside for the winter. Cleveland winters have killed more of my batteries than any deck ever did.
One more thing. If you are driving more than a handful of long screws, you want an impact driver with a quick-release collet, not a drill with a chuck. Different tool, different job, and the drill you already own is not a substitute.
The competition and why it lost
The Milwaukee M18 Fuel, the DeWalt XR line, and Makita's brushless drills are the tools I would put on a truck, and they belong in a different article. They cost more, they are heavier, and if you are hanging shelves in a rental, that money is wasted. The Ryobi HP brushless line is the other honest homeowner answer, but it is not in this piece, and the Bosch compact drills are built for tight cabinets, not for this workflow.
Impact drivers are a separate category entirely. No chuck, just a collet, and a completely different feel in the hand. Great tool, wrong article.
And corded drills? Still the right answer for a hole saw through a stack of studs. Also a different article. Today is about picking the right cordless kit and setting it up correctly.
What this really costs
The kit is the smallest part of the bill. The batteries are the real line item, and that is why the platform matters more than the sticker. A drill is a ten-year relationship with a battery system, and every tool you add later hangs off that same decision.
Cost per year of service is the honest way to compare. A tool you replace every two years is not cheaper than one you keep for ten, even when the first one looks like a bargain on the shelf. And a second battery for a platform you already own costs less than switching platforms to save money on a drill.
Check current Amazon price on both kits before you decide, and price a spare battery at the same time. If the spare battery costs more than the drill, you have learned something useful about which end of that purchase is the real investment.
The rest is free. Ten minutes with the clutch collar and the right bit will do more for your results than any upgrade you can buy. Set the clutch, drill the pilot hole, and let the tool do the work. That is the whole job.