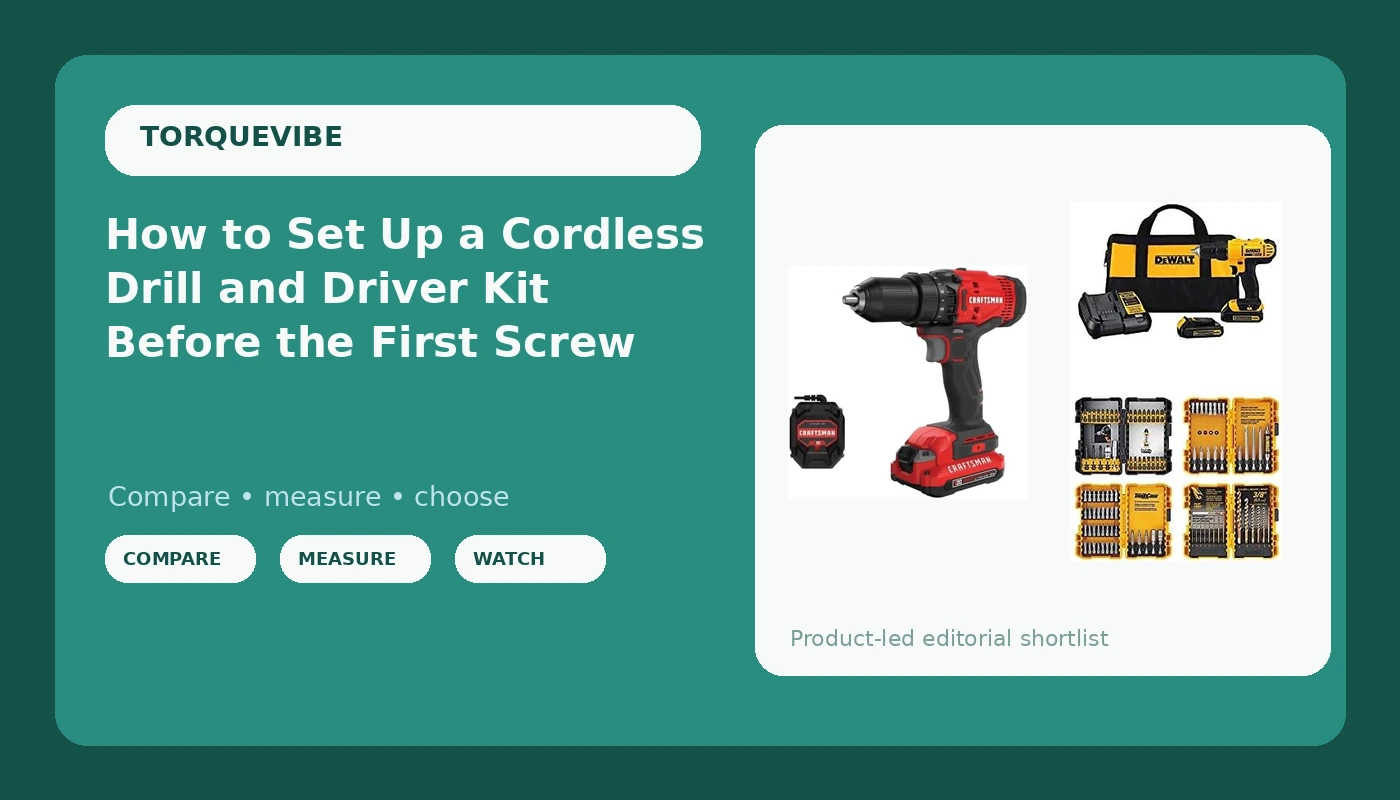
Most cordless drill and driver kits get set up wrong before the first screw goes in. People charge the battery, chuck whatever bit was already in the box, leave the clutch collar wherever it shipped from the factory, and start driving. Then a screw head strips, a bit spins in the chuck, or a screw buries itself half an inch into drywall, and the drill gets the blame.
I have been running crews in Cleveland for 22 years, and I will tell you straight: the tool is almost never the problem. The setup is. A drill is a dumb machine that does exactly what you tell it to do, which means the clutch setting, the bit, and the speed range you pick matter more than the number printed on the side of the box.
What follows is the setup routine I run on every drill that comes through my shop, and the two kits I point people toward when they ask what to buy first.
Why you should trust me
Twenty-two years of general contracting in Cleveland: decks, basements, kitchens, the whole rusty Midwest menu. Every tool that dies on my jobsite ends up on the graveyard wall in my shop, and there are 30-some of them up there now, each with a story about the day it quit. Brushed motors that smoked on 3-inch deck screws. Chucks that slipped on brand-new bits. A battery that died at the worst possible moment on a Friday afternoon. That wall is the most honest review system I have found, because nothing gets on it without earning its death.
I do not review drills from a spec sheet, and I do not care what the marketing copy says. I care what a drill does at screw 200, with a tired arm, on a 40-degree morning, after the chuck has been through a few hundred bit changes. If you want the number on the box, the box has it. If you want to know how to make the tool in your hand actually work, keep reading.
What actually matters, in order
Before you spend a dollar, understand what you are really buying. The order below is the order I would rank them, and it is not the order the packaging ranks them.
The battery platform. You are not buying a drill. You are buying into a battery system you will still be feeding in ten years. The drill is just the first tool you hang on it. Both kits below sit on two of the largest platforms in the country, which is the single most important thing either of them has going for it.
The chuck. A chuck that slips is a tool that lies to you. If the bit spins under load, every other feature on the drill is irrelevant.
The clutch. That numbered collar behind the chuck is your depth control and your screw-saving device. Learn it and you will stop stripping screws this weekend.
Weight and balance. A drill that wears your arm out in an hour gets left in the truck, and a drill in the truck does no work.
The speed range. Low gear for driving screws, high gear for drilling holes. Using the wrong range is the most common self-inflicted wound I see on a job.
The two kits I would start with
Two roles, two kits. One is the drill for real work, and one is the drill for the jobs that eat drills.
The pick for real work: DEWALT 20V MAX* Cordless Drill/Driver Kit with Screwdriver/Drill Bit Set, 100-Piece
 Visit on Amazon →
This is the kit I point people toward when they want one box that covers the job. The 100-piece screwdriver and drill bit set that comes with it matters more than it sounds. The number one reason a first drill gets blamed for a stripped screw is that the bit in the chuck was the wrong size or already chewed up, and having the bits in the same box means you start with the right one instead of making do.
The other half of the argument is the platform. The 20V MAX battery system is one of the two biggest in the country, which means the battery you buy today still has a home in five years, whether that home is a circular saw, a sander, or a second drill. That is the part of the purchase that outlasts the tool itself.
Check current Amazon price at the link above.
Flaws but not dealbreakers: This is a kit built to a price, and the value tier of any platform is the tier that gets replaced first. If you are driving screws eight hours a day, treat this as your entry point and not your finish line.
Homeowners, first-time buyers, and anyone who wants a drill plus a full bit set in one order should start here.
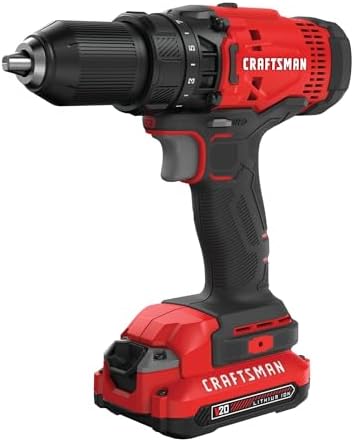
The budget truck drill: CRAFTSMAN V20 Cordless Drill/Driver Kit, 1/2 inch, Battery and Charger Included (CMCD700C1)
 Visit on Amazon →
This is the drill I keep around for the jobs I know are going to be hard on a tool: the rental property punch list, the fence gate that has been hanging crooked since 2011, the deck repair where I am going to find three nails and a knot. It has a 1/2 inch chuck and it ships with the battery and charger, so it is a complete working drill out of the box with nothing else to buy.
I will be straight with you about where it sits. V20 is a value platform, and value platforms have a shorter service life and a smaller family of tools hanging off them than the big two. I have said for years that Craftsman is a trap for people who think they are buying the little brother of a premium brand, and that is still true. Bought as a budget drill for occasional work, it does budget drill work honestly. Bought expecting a decade of daily service, it will disappoint you, and you will have nobody to blame but the box.
Check current Amazon price at the link above.
Flaws but not dealbreakers: Fewer batteries, fewer bare tools, and a shorter parts tail than the premium platforms. Fine for a homeowner with a punch list. Not the drill I hand my apprentice on a Monday morning for a week of framing.
Anyone who needs a second drill, a garage drill, or a beater for ugly work will get their money out of it.
The setup workflow
Here is the routine. It takes ten minutes on the first job and about thirty seconds on every job after that.
Step one: charge the battery and keep a spare. Charge to full before you start, and if you are doing anything bigger than a picture frame, have a second battery charged and sitting on the tailgate. Running a battery down to dead mid-job is how people end up forcing a tool and blaming the tool for it.
Step two: pick the bit before you pick the drill. Match the bit to the screw head, not the other way around. A number two Phillips for most screws, a star or square drive bit for deck screws, and nothing that is already rounded off. A worn bit cams out of the screw head, chews the head to mush, and no clutch setting on earth will save it.
Step three: set the speed range. Low gear for screws. High gear for holes. On most drills that is the switch on top of the housing, marked 1 and 2. If you are driving screws in high gear, you are trading control for speed and you will lose that trade.
Step four: set the clutch low, then climb. Start at a low number on the clutch collar, well below where you think you need to be. If the clutch ratchets before the screw seats, step up one number. Repeat until the screw seats flush without spinning out. The right setting is the lowest one that finishes the job, not the highest one that does not stall.
Step five: snug the chuck by hand. Three jaws, hand tight, then a firm final turn. Do not use the motor to tighten a chuck, and do not hang off the collar trying to crush it. Snug is snug.
Step six: drive a test screw into scrap. Same material, same screw, same bit. Every material behaves differently. Pine is not oak, and drywall is not a 2x4. One test screw in scrap saves you five stripped screws in the real thing.
Step seven: drill mode is for holes, not screws. When you want a hole, spin the clutch collar past the numbers to the drill icon. When you want a screw, spin it back. Leaving the collar in drill mode and driving screws with it is the fastest way to bury a screw through a cabinet panel.
Step eight: mind the battery in the cold. A cold battery acts tired long before it is empty. In a Cleveland February, I bring batteries in from the truck the night before a job and keep the spare in an inside pocket. It is not a scientific fix, but it is the difference between a drill that pulls and a drill that sulks.
Do this routine a handful of times and it becomes muscle memory. You will set the clutch without looking, and you will stop thinking about the drill at all, which is exactly the point.
The two failures that make people blame the drill
The stripped screw head. Nine times out of ten this is a bit problem, not a drill problem. Wrong size, wrong drive type, or a bit that has already given up its edges. The tenth time it is a clutch set too high and a wrist pushing too hard. Fix the bit and drop the clutch a number.
The slipping chuck. If the bit spins in the jaws under load, the chuck is either not snugged down or it is a cheap chuck doing what cheap chucks do. Hand tighten it properly and try again. If it still slips on a fresh bit, that is a real defect and it is worth a return, because a chuck that slips will keep slipping.
Both of these feel like the tool failed. Neither of them usually is.
When a drill is not the tool you want
A drill driver is the most useful cordless tool you can own, and it is still the wrong tool for a lot of jobs.
For long deck screws and lag bolts, you want an impact driver, not a drill. The impact mechanism delivers its power in hits instead of a steady twist, which is why it drives a 3-inch screw without twisting your wrist off. If your deck build has more than a couple dozen screws in it, budget for one.
For concrete and masonry, you want a hammer drill, which is a different animal entirely. A standard drill driver with a masonry bit will spin and smoke and make you miserable.
For all-day repetitive work, a corded drill still has a place in the shop. Batteries have come a long way, and a corded tool that never needs a charge is still the honest answer for a full day of holes.
What this all costs
I am not going to quote you a number, because prices on these kits move with the season and with whatever promotion is running. Check current Amazon price at the link in each section above and you will have today's figure in about four seconds.
Here is how I think about the money instead. The drill is the cheap part. The battery platform is the expensive part, spread over a decade of tools you have not bought yet. The bits are where money quietly leaks out, because a five-dollar bit that saves a five-hundred-dollar deck board is the best trade in the shop.
Divide the price of the kit by the number of years you expect to own it and the number gets small fast. Divide it by the number of years you expect to own a kit that quits in two seasons and the math gets ugly. That is the whole argument for buying into a platform you can still feed in ten years.
The bottom line
Set the clutch before you set the screw. Match the bit to the head. Keep a charged spare within arm's reach. Do those three things and the drill in your hand will outwork the guy next to you with a more expensive tool and no routine.
Buy the platform, not the paint job. Then go drive something.