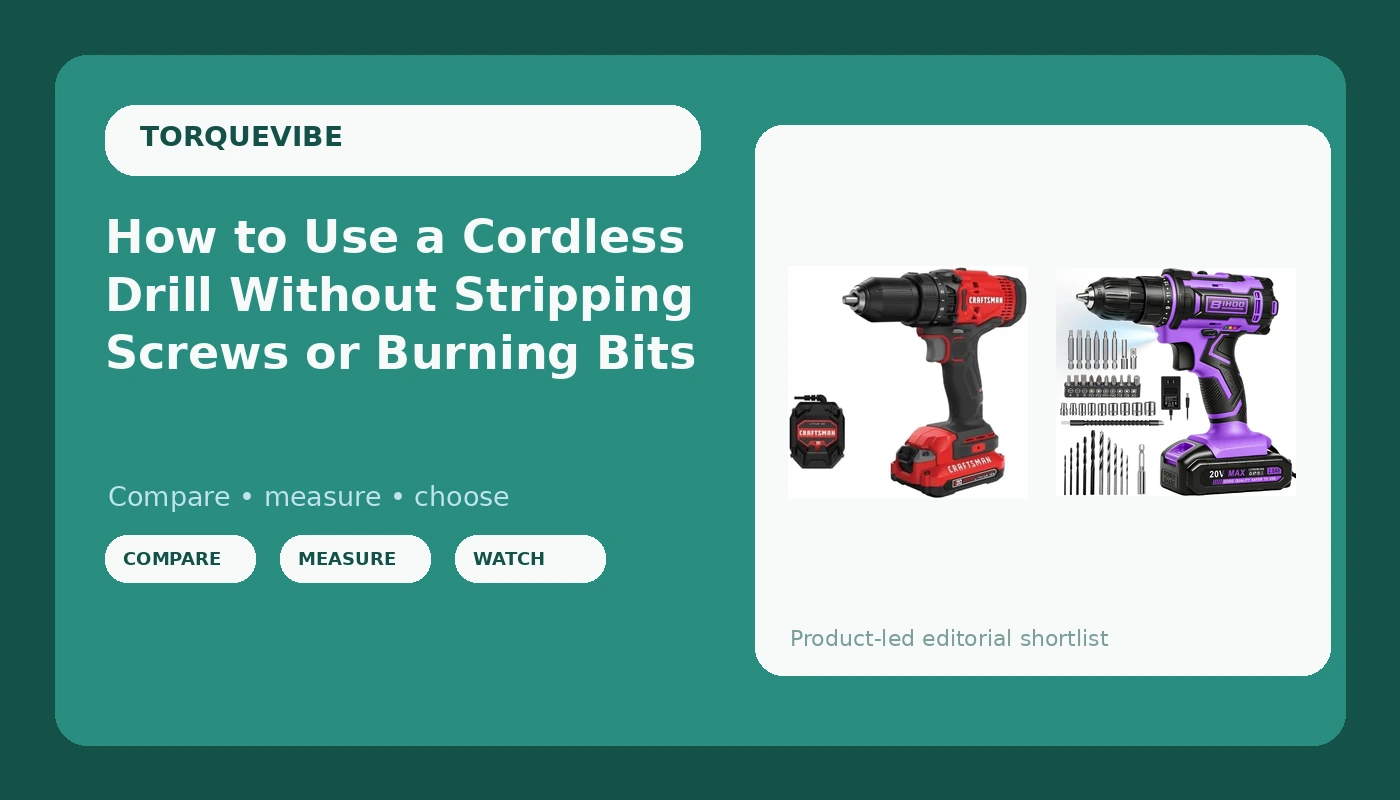
Most people who ask me how to use a cordless drill already own one. They bought it, charged the battery, drove about forty screws into a fence, stripped three heads in a row, and decided the tool was junk. It wasn't. The drill was fine. Nobody ever showed them the three settings on the collar, or told them to slow the trigger down.
I ran a general contracting crew in Cleveland for 22 years, and there is a wall in my shop with 30-some dead drills nailed to it. Every one of them died for a reason I can name. Very few of those reasons were the drill's fault. Most were trigger discipline, chuck abuse, or a battery left on a charger in a cold garage.
This is the version of the lesson I hand my apprentices on their first Monday. Two drills show up in it because they cover the two chuck sizes you will actually meet, but the technique works on whatever cordless drill is already sitting in your garage.
Why you should trust me
I don't review tools from spec sheets. Spec torque is measured on a fresh battery with a warm motor, and that number has never once survived contact with a jobsite. What I care about is what a tool does at screw 200, after a tired arm and a 40-degree morning have taken their cut.
That is why the graveyard wall exists. Nothing gets nailed up there without earning its death, and nothing gets recommended to you without surviving the same kind of work that killed the ones on the wall. I have watched brushed motors smoke on 3-inch deck screws, watched brand-new chucks slip on brand-new bits, and watched batteries quit at the exact worst moment of a Friday afternoon. The pattern is almost always the same: the operator never learned the tool.
So this guide is about the operator. You can wreck a great drill in an afternoon with bad habits, and you can get years out of a cheap one with good ones. I would rather teach you the habits.
What you need before you start
The tool list is short. A drill with a battery and a charger, a set of hex-shank driver bits, a set of twist drill bits for pilot holes, a pencil, and a speed square or combination square. That's it. No specialty jigs, no $300 kit.
What matters more than the brand is the chuck size, because the chuck decides what bits the drill will hold. The two drills below cover the two sizes that matter for home and light jobsite work, and both come as kits with the battery and charger in the box, which is the only way to buy a cordless tool.
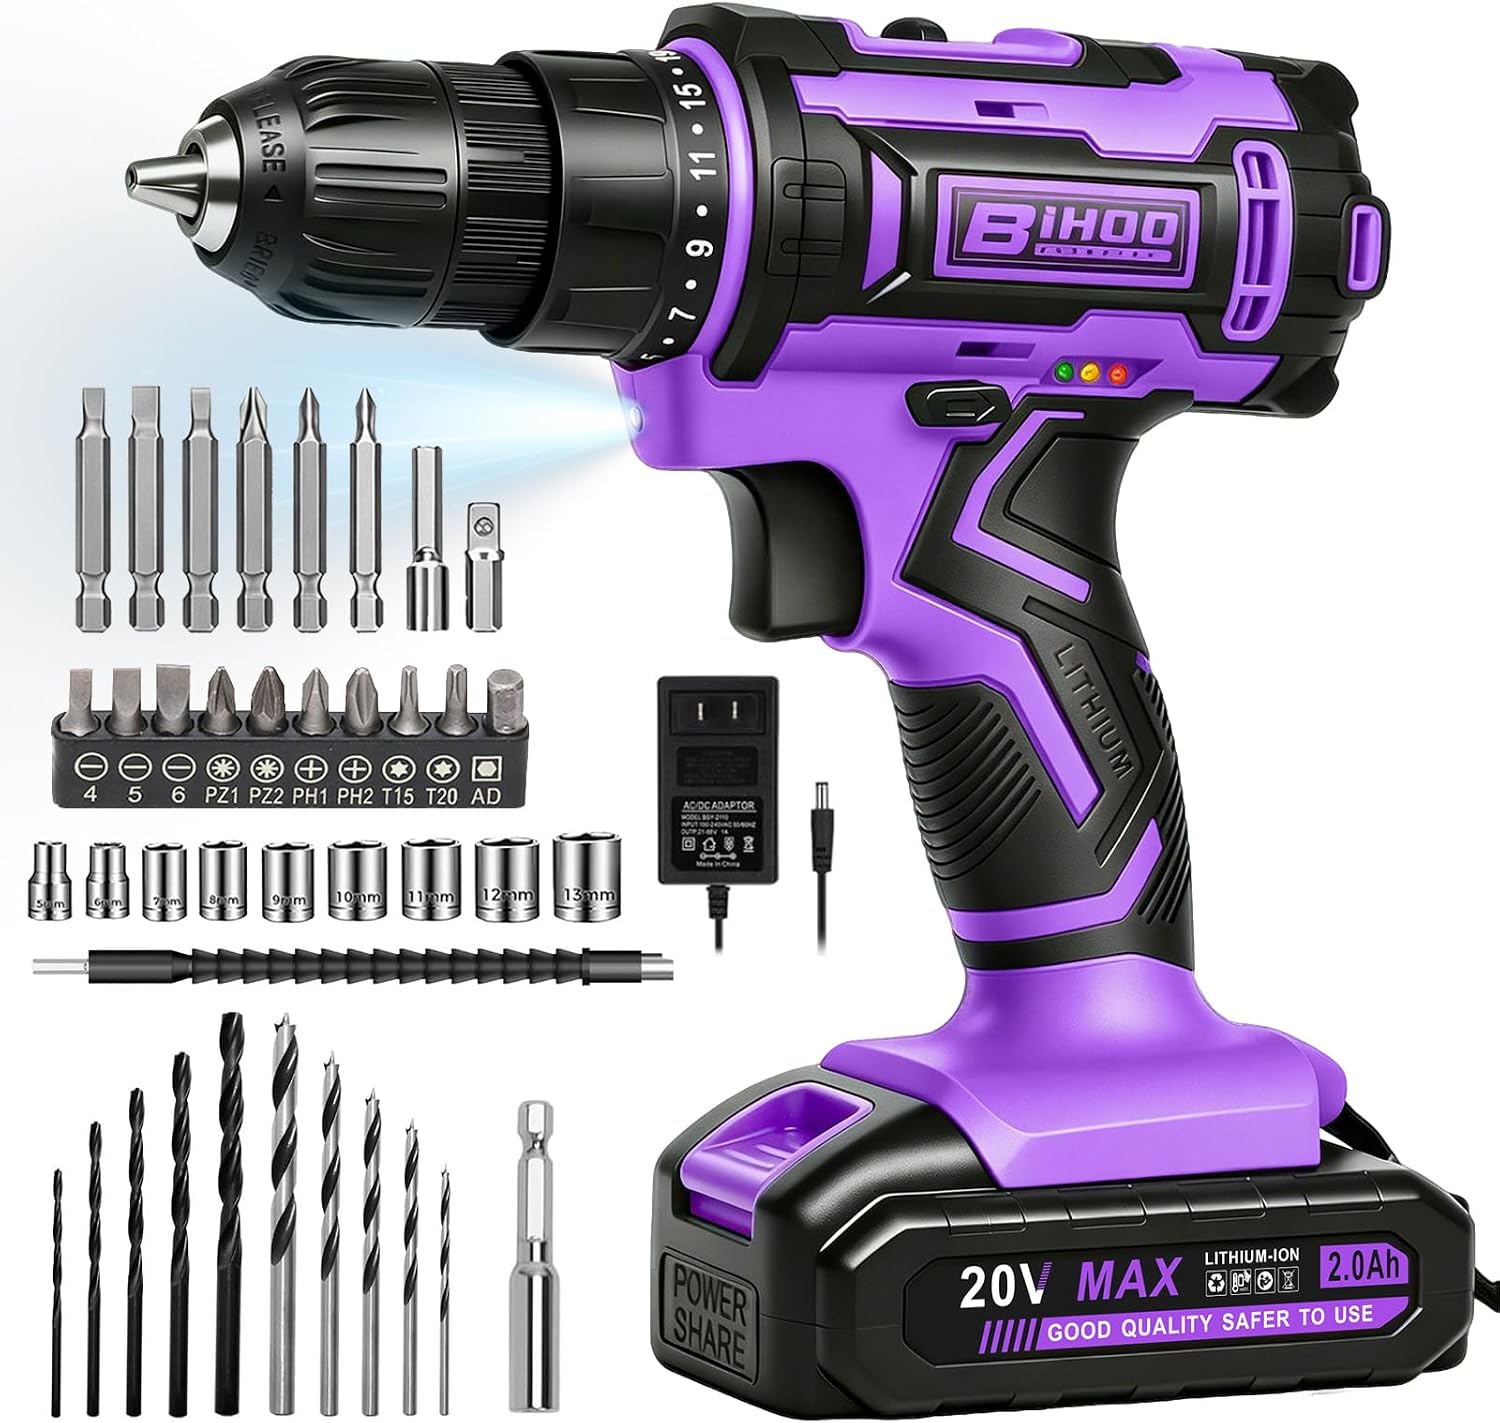
Budget pick: 20V Cordless Drill with Battery and Charger, 3/8'' chuck, Purple
 Visit on Amazon →
This is the drill for the person who wants one drill, one battery, one charger, and a case, and does not want to think about battery platforms yet. The 3/8-inch chuck is the spec that matters. As a class, a 3/8-inch chuck holds every standard hex driver bit and every twist drill bit up to 3/8 inch, which covers pilot holes, cabinet screws, furniture assembly, shelf brackets, and light fence repair.
Where a 3/8-inch chuck runs out of road is the big stuff. A 1-inch spade bit or a hole saw wants a 1/2-inch shank, and it wants more motor behind it than a light-duty drill carries. If your project list is furniture and shelving, this class of drill is plenty. If it is deck framing, keep reading.
Flaws but not dealbreakers: This is a light-duty tool in a bright colorway, and it should be treated like one. Keep the clutch on the low side of the range, use pilot holes in hardwood, and do not ask it to run a 4-inch hole saw through a door blank. It will not enjoy that, and neither will you.
Anyone assembling furniture, hanging shelves, or keeping a first drill in a kitchen drawer will get real use out of it.
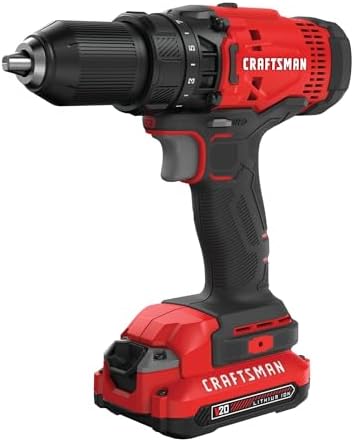
The 1/2-inch option: CRAFTSMAN V20 Cordless Drill/Driver Kit, 1/2 inch, Battery and Charger Included (CMCD700C1)
 Visit on Amazon →
Here is where I have to be straight with you, because the whole point of this site is that I don't lie about tools. Craftsman built its name on corded tools that outlived their owners, and the V20 line has not always lived up to that inheritance. I have said out loud that Craftsman is a trap, and I stand behind that warning for anyone buying it because the box looks like a deal.
What this kit has going for it is the 1/2-inch chuck. That is the size that accepts spade bits, hole saws, step bits, and auger bits, which is the difference between a drill that hangs shelves and a drill that builds them. A 1/2-inch chuck is also the size you want if you ever plan to run a mixing paddle or a wire wheel.
The other honest point is the battery platform. When you buy this kit, you are buying into the V20 line, not just a drill. Before you commit, look at what else runs on that battery and whether you can still buy replacements in five years. That question matters more than any number on the box.
Flaws but not dealbreakers: The kit is the value here, not the badge. If you already own batteries from another platform, price out a bare tool on that platform first, because staying inside one battery family is cheaper over ten years than chasing a sale on a second family.
Anyone who needs a 1/2-inch chuck, a spare battery, and a drill that will do real work around a house should look here first.
How to drive a screw without stripping it
Now the part you came for. This works on either drill above and on whatever you already own.
Step one: match the bit to the job. A twist drill bit makes the pilot hole. A hex-shank driver bit drives the screw. Using a driver bit to bore a hole burns the tip and polishes the wood instead of cutting it. If the bit is smoking, it is the wrong bit, not a dull drill.
Step two: seat the bit in all three jaws. Push the bit in, hand-tighten the collar, then bump the trigger at low speed for half a second and tighten the collar again. That second tighten is what seats the jaws. A bit that walks out of the chuck is a bit that was never seated, and a walking bit is how you wallow out a hole in a cabinet face.
Step three: set the clutch before the first screw. That numbered collar is a slip clutch, and it exists so the drill gives up before your screw head does. Start in the middle of the range and move one click at a time. Soft pine wants a lower number, hardwood wants a higher one. When the collar starts clicking, the screw is set. That click is not a failure, it is the tool telling you it is done.
Step four: pick the right gear range. Most drills have a 1 and a 2 on top. Low gear is slow speed and high torque, which is for driving screws and boring big holes. High gear is fast and weak, which is for small pilot holes. If your drill is whining and the screw is not moving, you are in the wrong gear.
Step five: start slow, then lean in. Slow hands, fast work. Squeeze the trigger just enough to turn the bit, let the tip bite into the material, then push. Pinning the trigger from a dead stop is how bits skate across finished surfaces and how screw heads get chewed before they are even started.
Step six: keep the drill square to the work. The body of the drill should be in line with the screw, not angled off your hip. Angle it and the head cams out of the slot, the hole wallows, and the screw goes in crooked. Fix your stance before you fix your technique.
Step seven: let the clutch stop you. When the collar clicks, stop. Fighting it buries the head below the surface and strips the hole. If the head is still proud, raise the clutch one click and try again. Two small bites beat one big one.
Step eight: back out a bad screw properly. Stop, flip to reverse, press hard, and run it slow. Pressing hard keeps the bit in the slot instead of spinning in the crater. The real lesson is that step eight should be rare, because steps three through six are what prevent it.
Battery habits that make a drill last a decade
The battery is the expensive part and the part most people abuse. A few habits will double its service life.
Do not leave a battery sitting on the charger for weeks. Charge it, pull it, store it. Do not store it fully dead either. A partial charge is the happy place for a lithium pack that is going to sit for a month.
Cold is the enemy in a Cleveland winter. A battery left in a frozen truck overnight will show up to work with a fraction of its runtime, and it will do that on the morning you need it most. Bring batteries inside. Let a hot battery cool before it goes back on the charger, because charging a pack that just came off a 200-screw run is how you cook cells.
Buy two batteries before you buy a second drill. Runtime, not torque, is what actually stops a job.
When a drill is the wrong tool
A drill is not an impact driver, and the difference is not marketing. Driving 3-inch deck screws or lag bolts with a drill twists your wrist, strips heads, and is the single fastest way to kill a good tool. That job belongs to an impact driver with a quick-release collet.
Masonry is a different tool too. Concrete and brick want a hammer drill and carbide-tipped masonry bits. A standard drill will spin, heat up, and accomplish nothing except burning the bit.
Big hole saws are the third case. They want a 1/2-inch chuck, low gear, and two hands, and even then they will teach you respect. If you are cutting door blanks for locksets all day, that is a job for a dedicated tool.
Mistakes I see on every jobsite
The clutch left in drill mode is the number one killer. That setting bypasses the slip clutch entirely, and it is why so many people bury screw heads and split trim. If you are driving screws, the collar should be on a number, never on the drill icon.
The second mistake is tightening the chuck by hand and blaming the bit when it slips. See step two.
The third is a dead battery in a cold truck, covered above.
The fourth is buying the drill first and the battery platform second. The drill is the cheap part. The platform is the ten-year commitment, and the tools you hang on it later are what you are really paying for.
The brands that aren't in this guide
If you are shopping for a pro-grade drill, the conversation changes. Milwaukee M18 Fuel is the best overall for pros in my book, the only line I have never had come back with smoke coming out of it. DeWalt XR is the best value for serious work, a little less brute force for the best price per year of service. Makita is the smoothest, with the best chuck feel and trigger control in the industry.
For homeowners, Ryobi is fine and I will say it out loud. The brushed models die fast, but the brushless HP line is legitimate for the money. Bosch builds the most compact drills for tight spaces, though the battery lineup lags the big two.
None of those belong in a beginner's how-to article. They belong in a platform decision, which is a different conversation, and one you should have before you spend real money.
The short version
Match the bit to the job. Seat it in all three jaws. Set the clutch before the first screw, not after the first stripped head. Drive in low gear, start slow, keep the drill square, and stop when the collar clicks. Keep your batteries warm and off the charger, and buy two before you buy a second drill.
Do that and the drill in your hand stops being a tool that fights you and starts being one that lasts. The wall in my shop is full of tools that died from bad habits. Yours does not have to join them.